
The Horse Race
7 ft. x 3 ft.
medium: medium density fiber board, printing ink, Power grip carving tools
When on hour thirty (out of sixty) - of constructing a seven foot by three foot carving - your mind can only think of several things. First, my back hurts. Second, I’m hungry. Third, why the hell did I decide to do this?
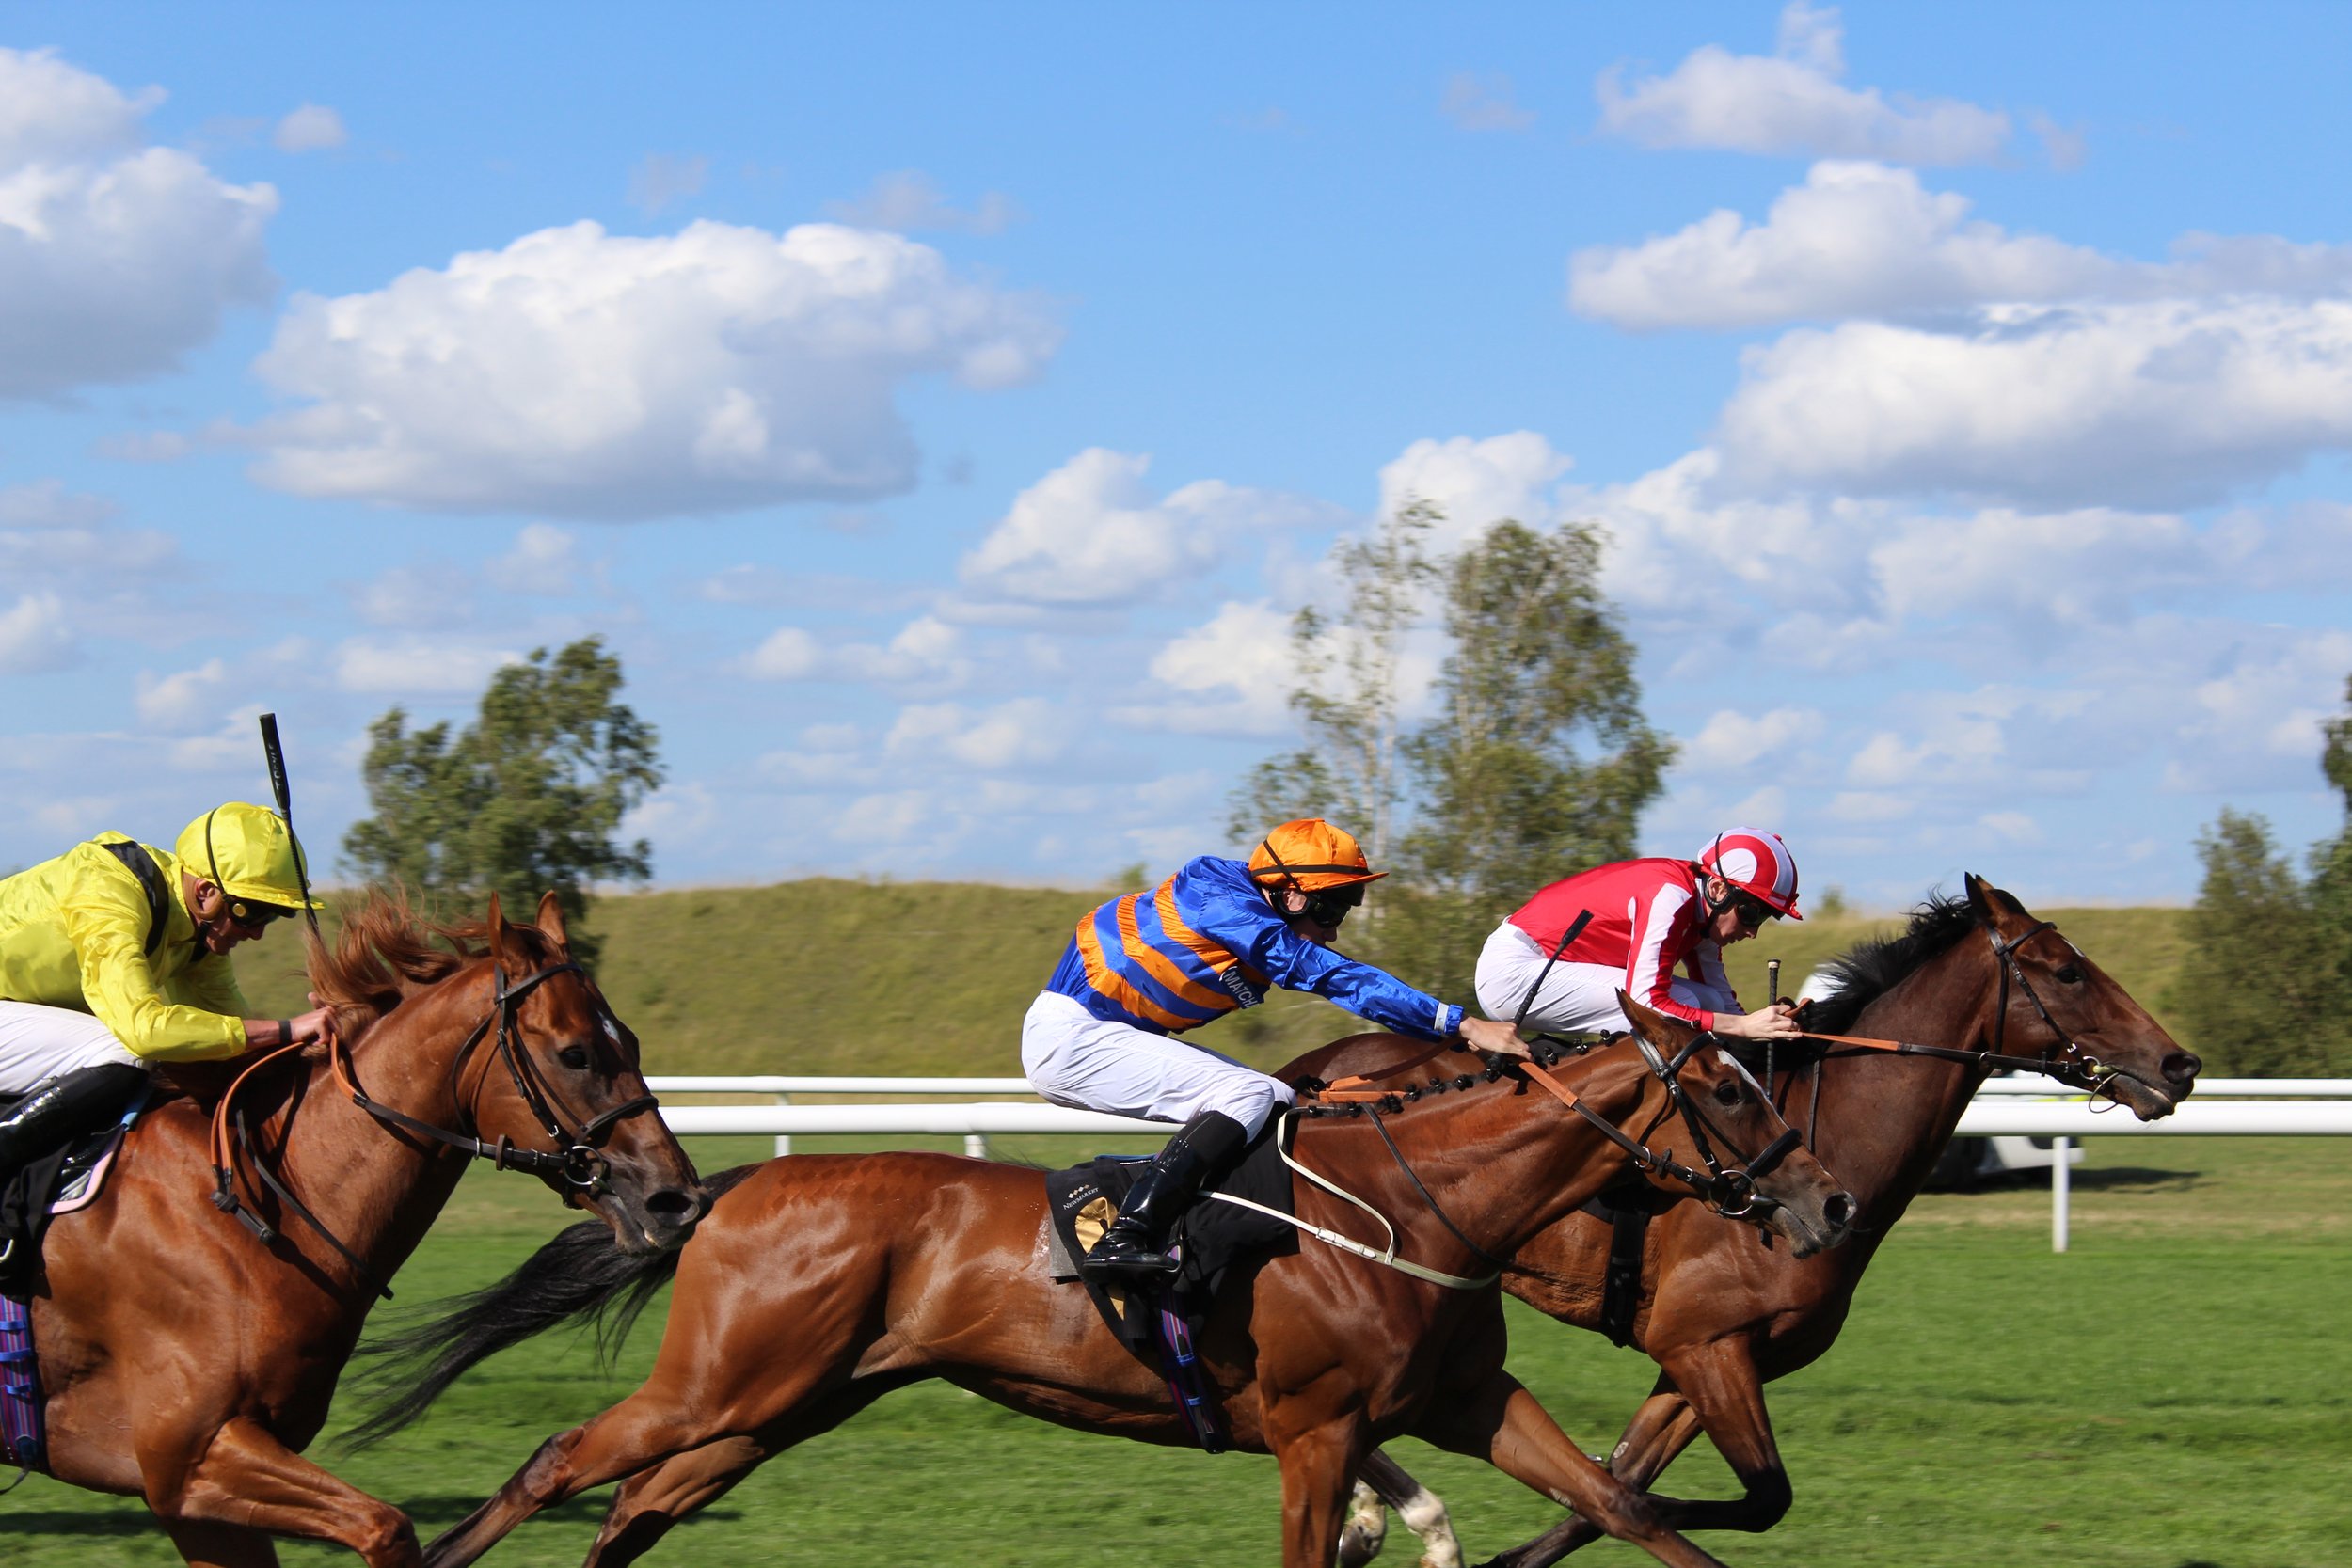
It started with traveling in England this past summer.
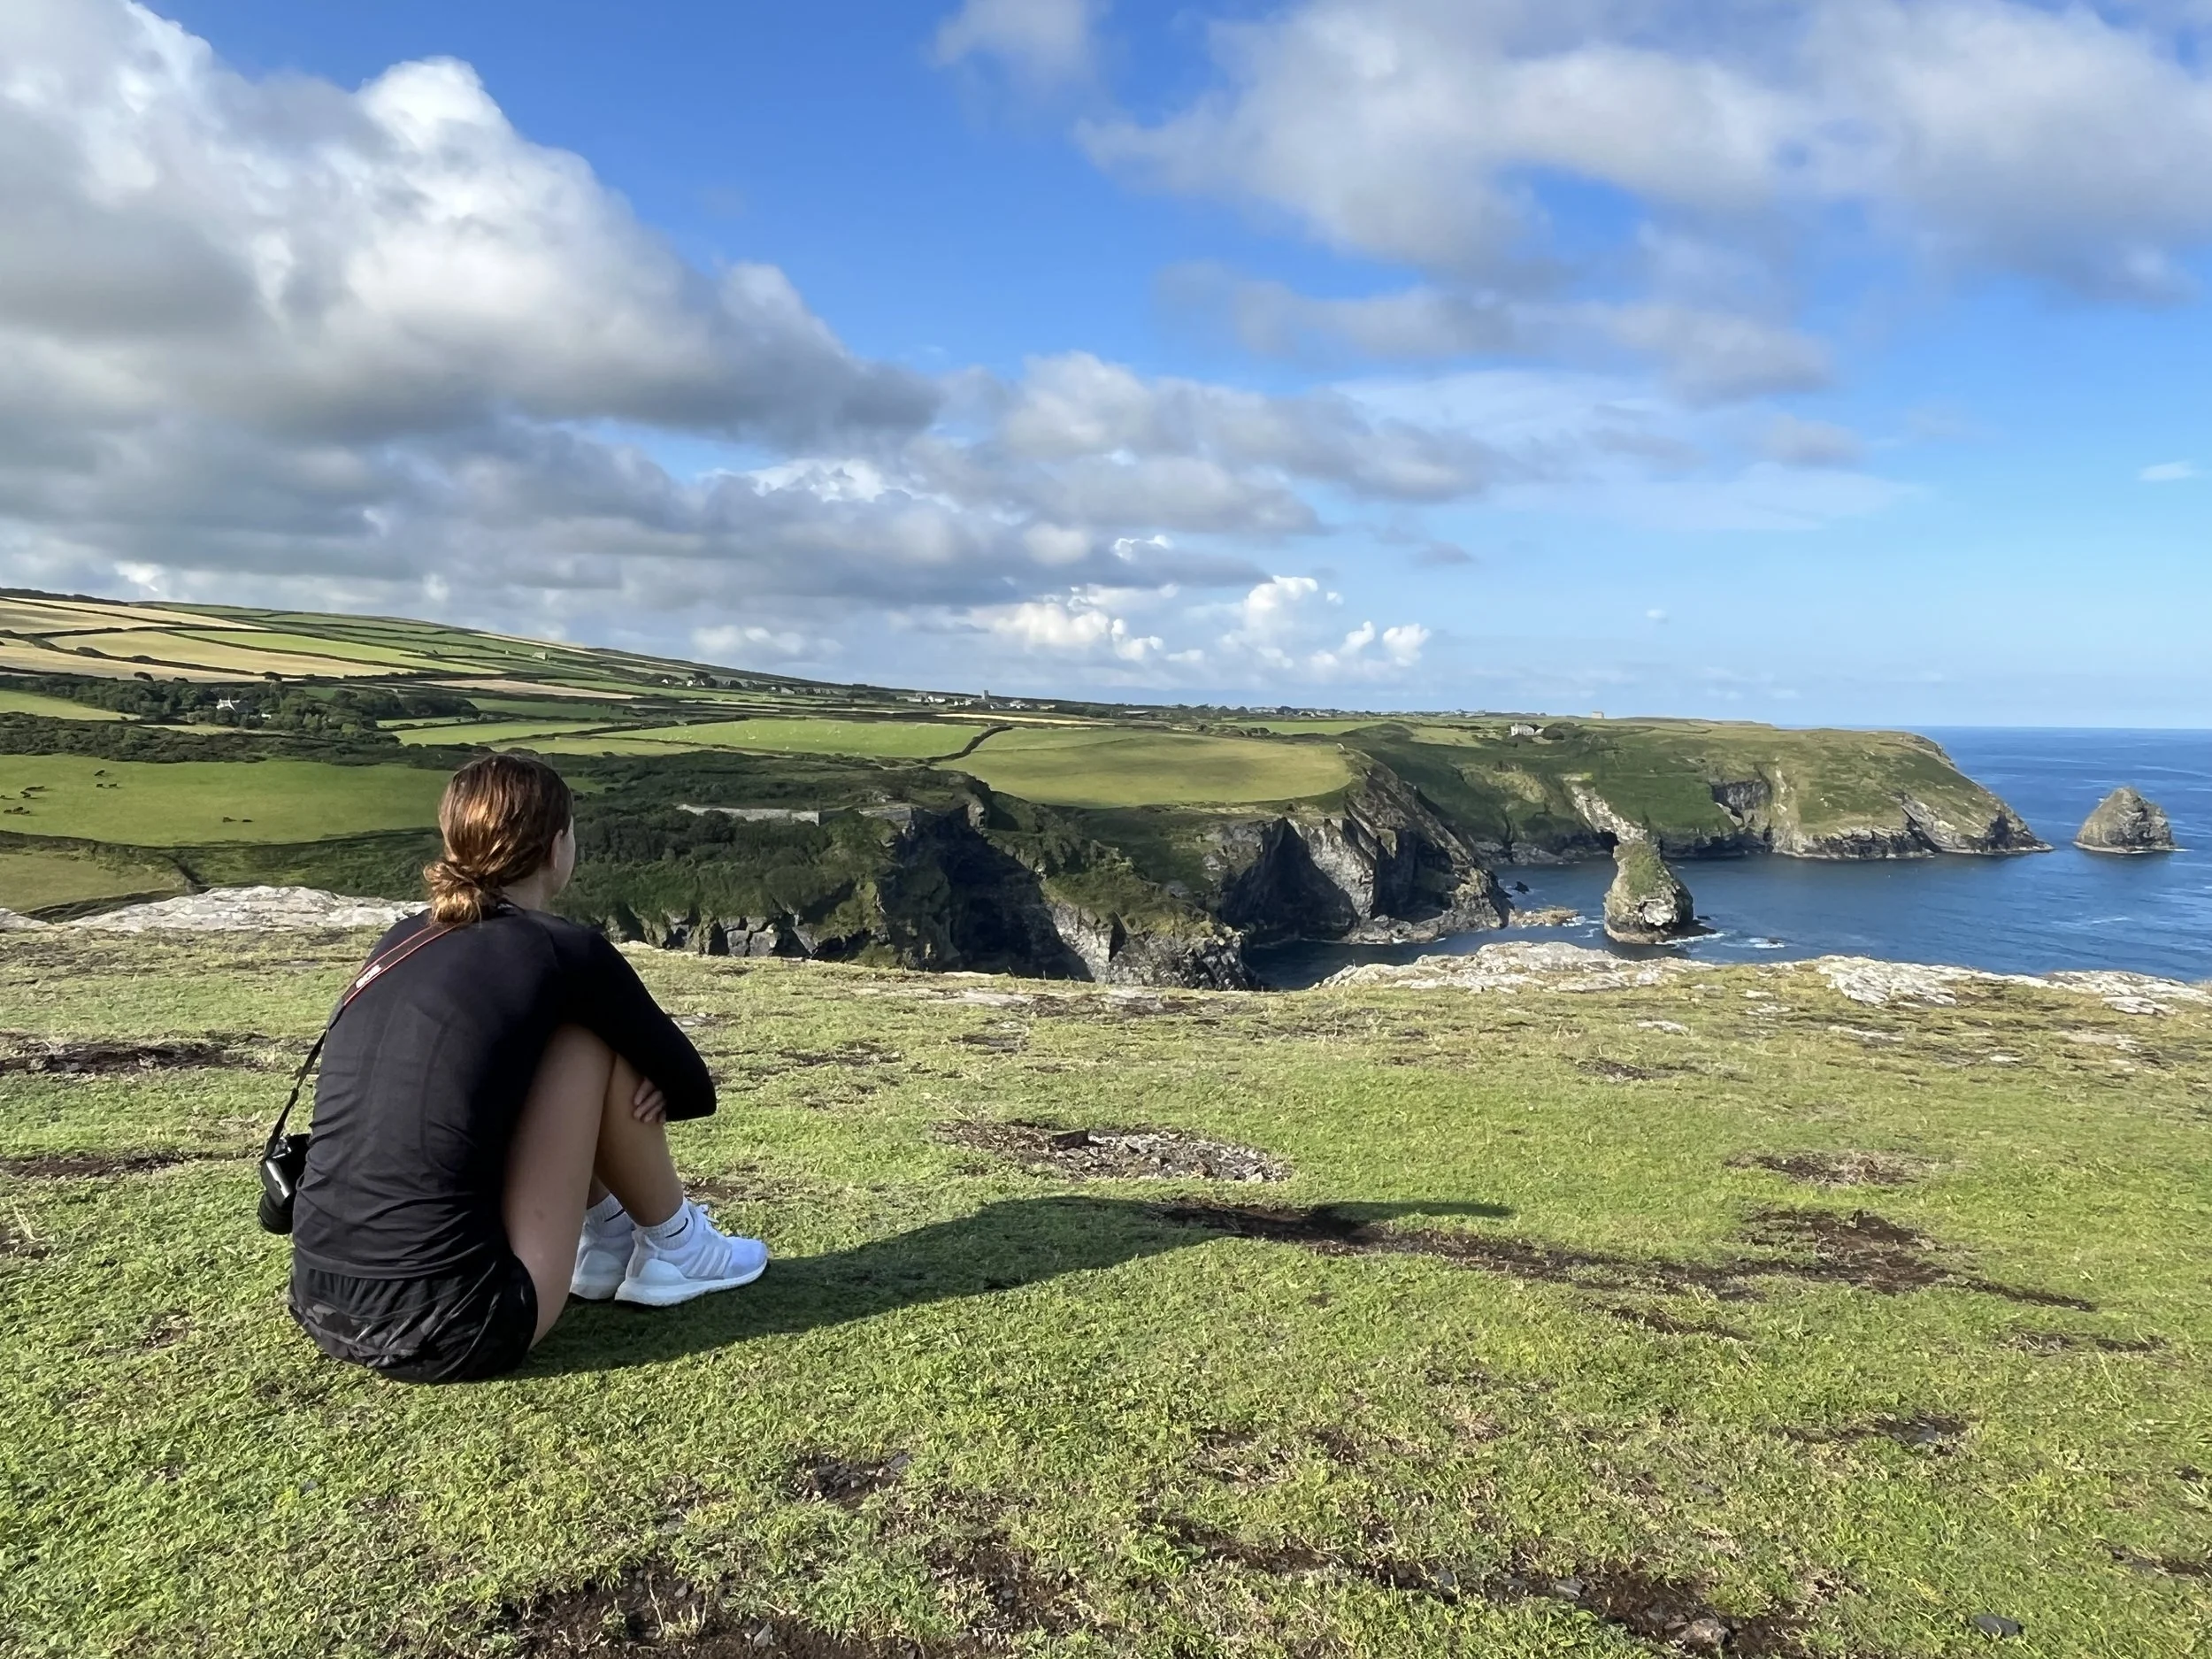
While there, we attended a horserace in New Market.

While at the race I took this photograph with my Canon camera.
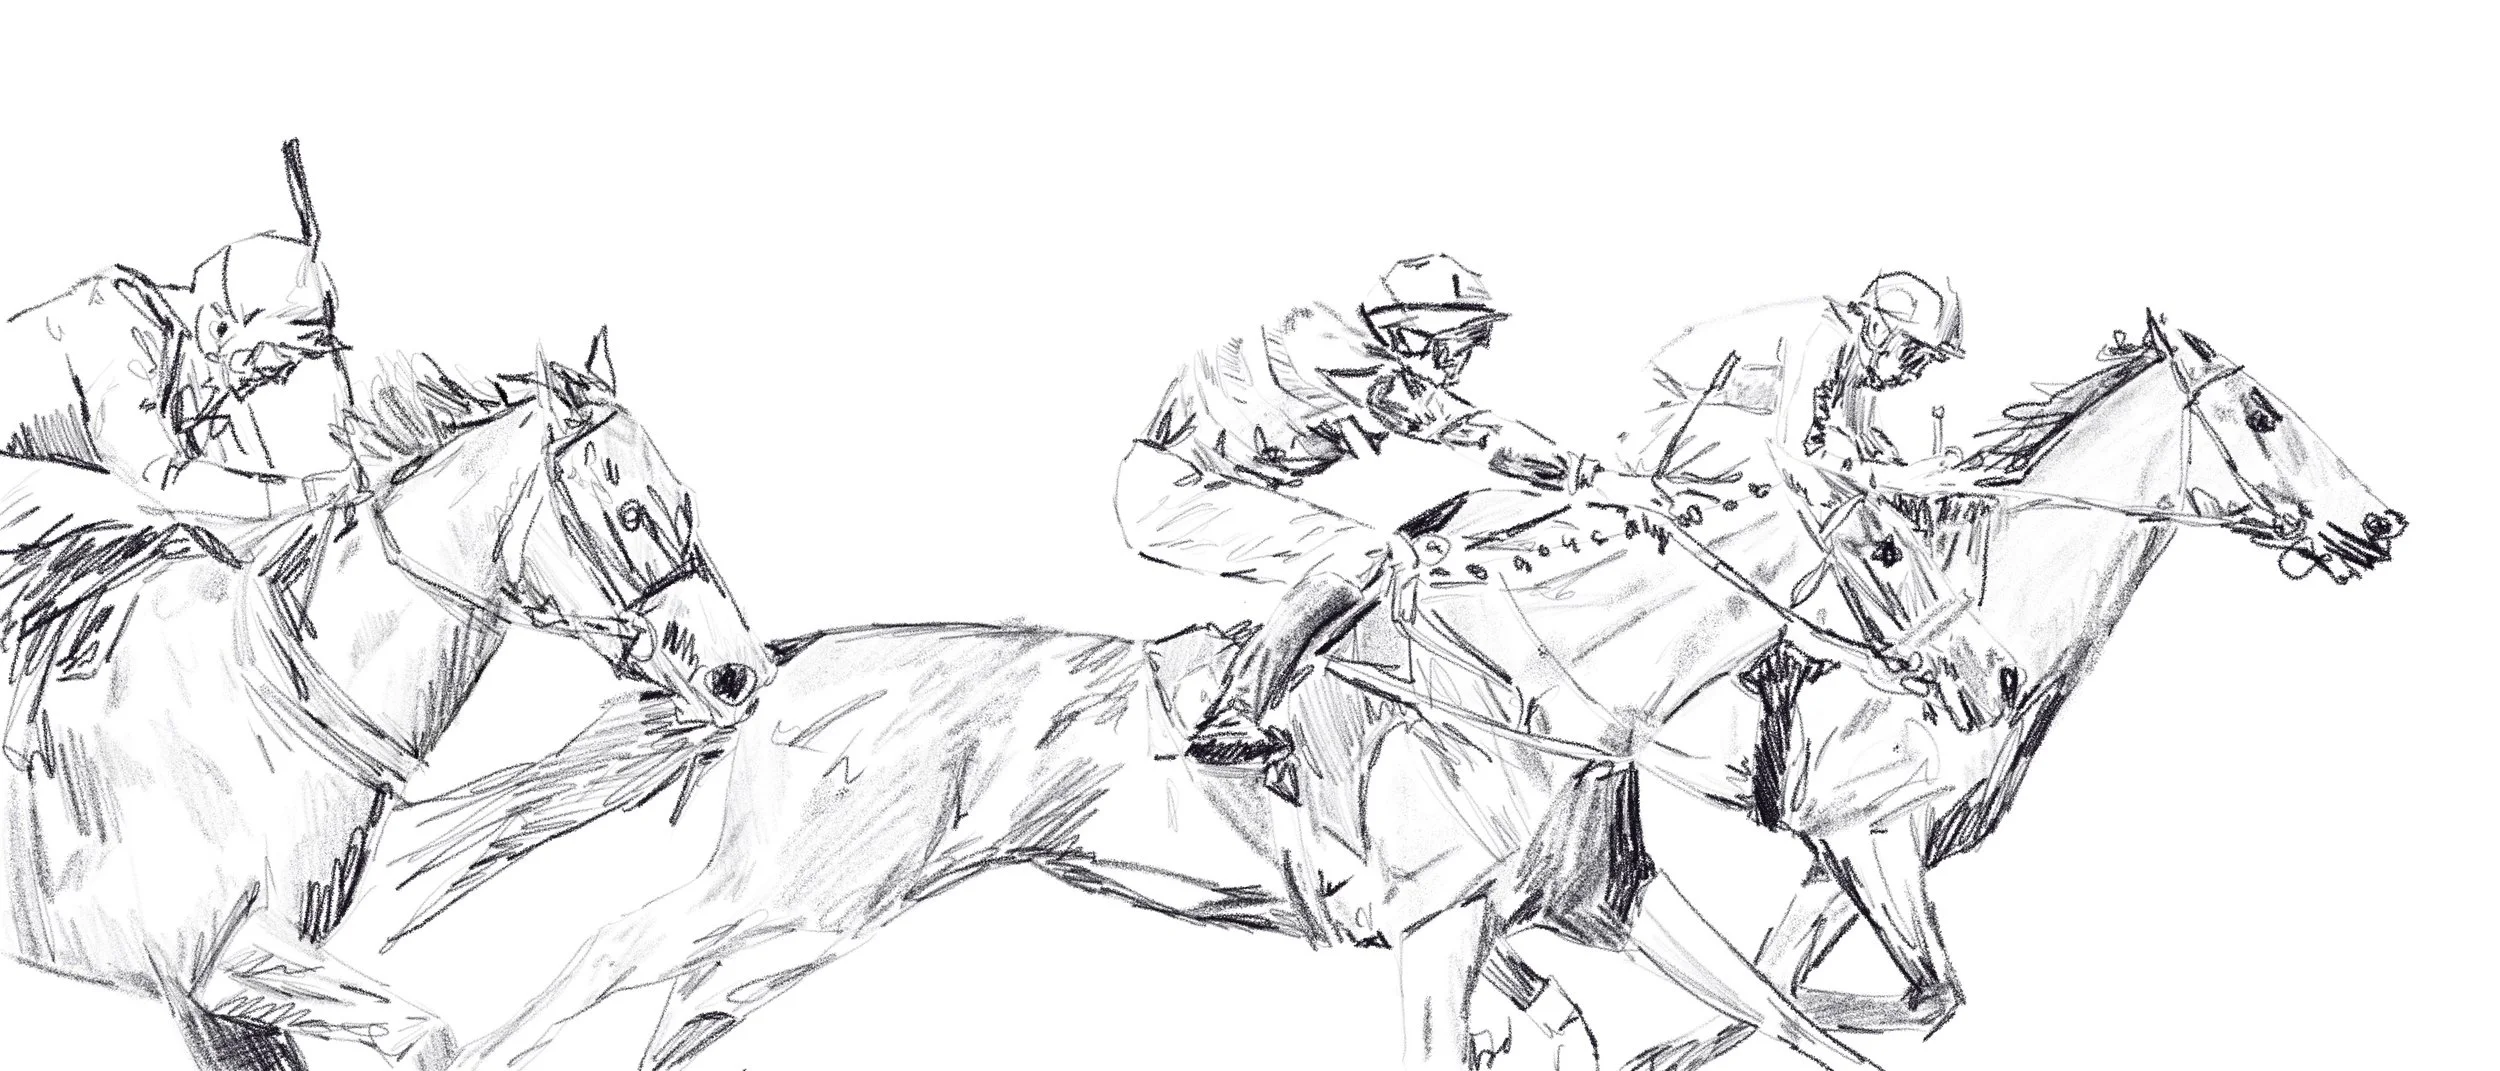
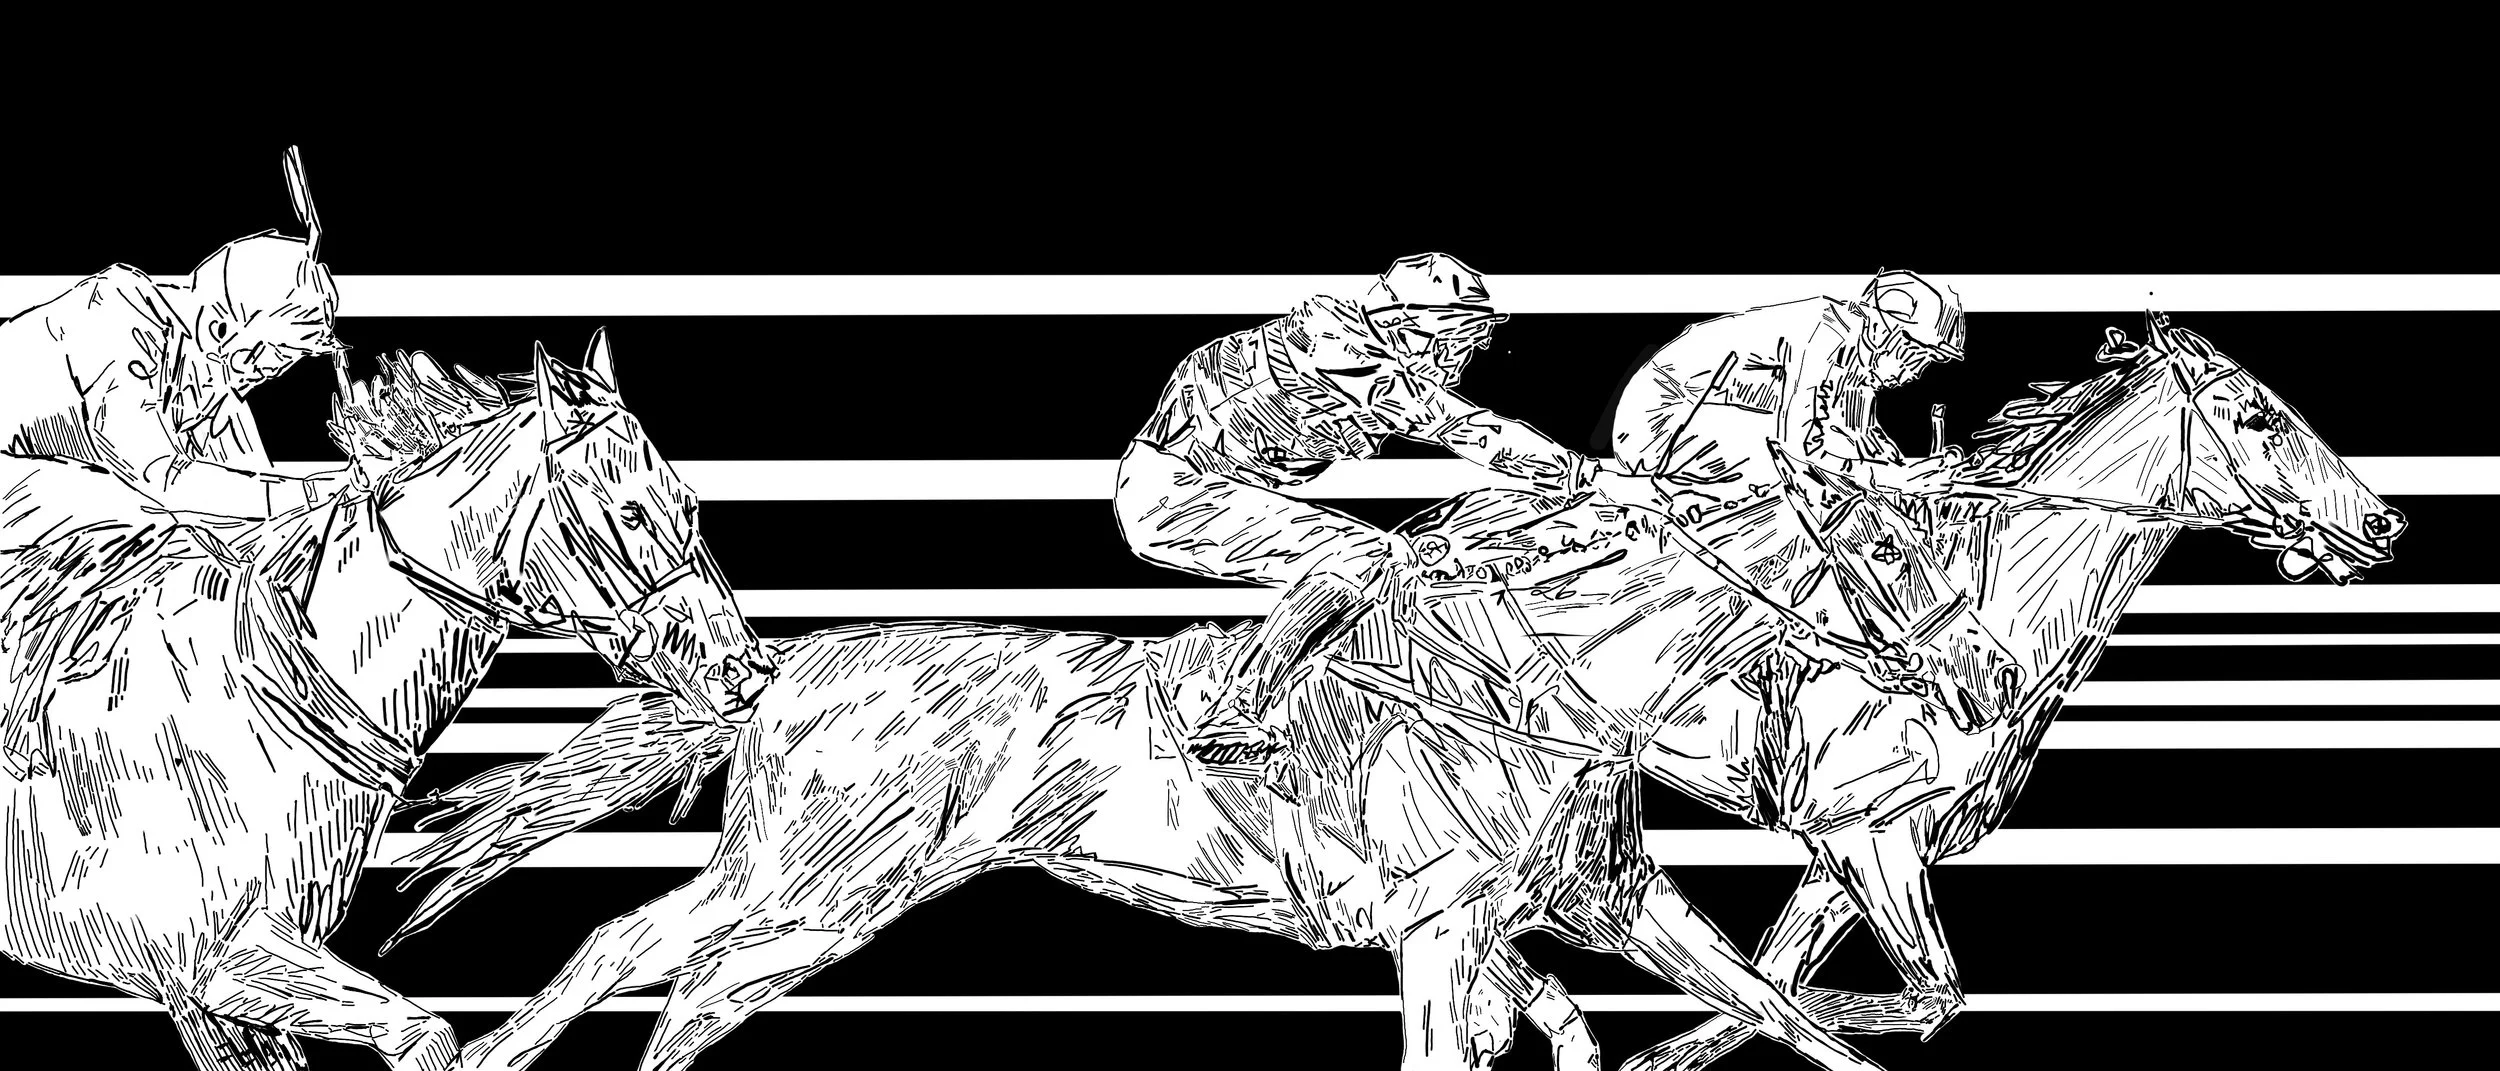
When I started the five week workshop, steamroller printing, we were first instructed to make a design. Using the previous photo for reference I produced this sketch. I used my Apple pencil and my iPad to draw this on a digital art platform called Procreate. It was the first draft for the overall project.
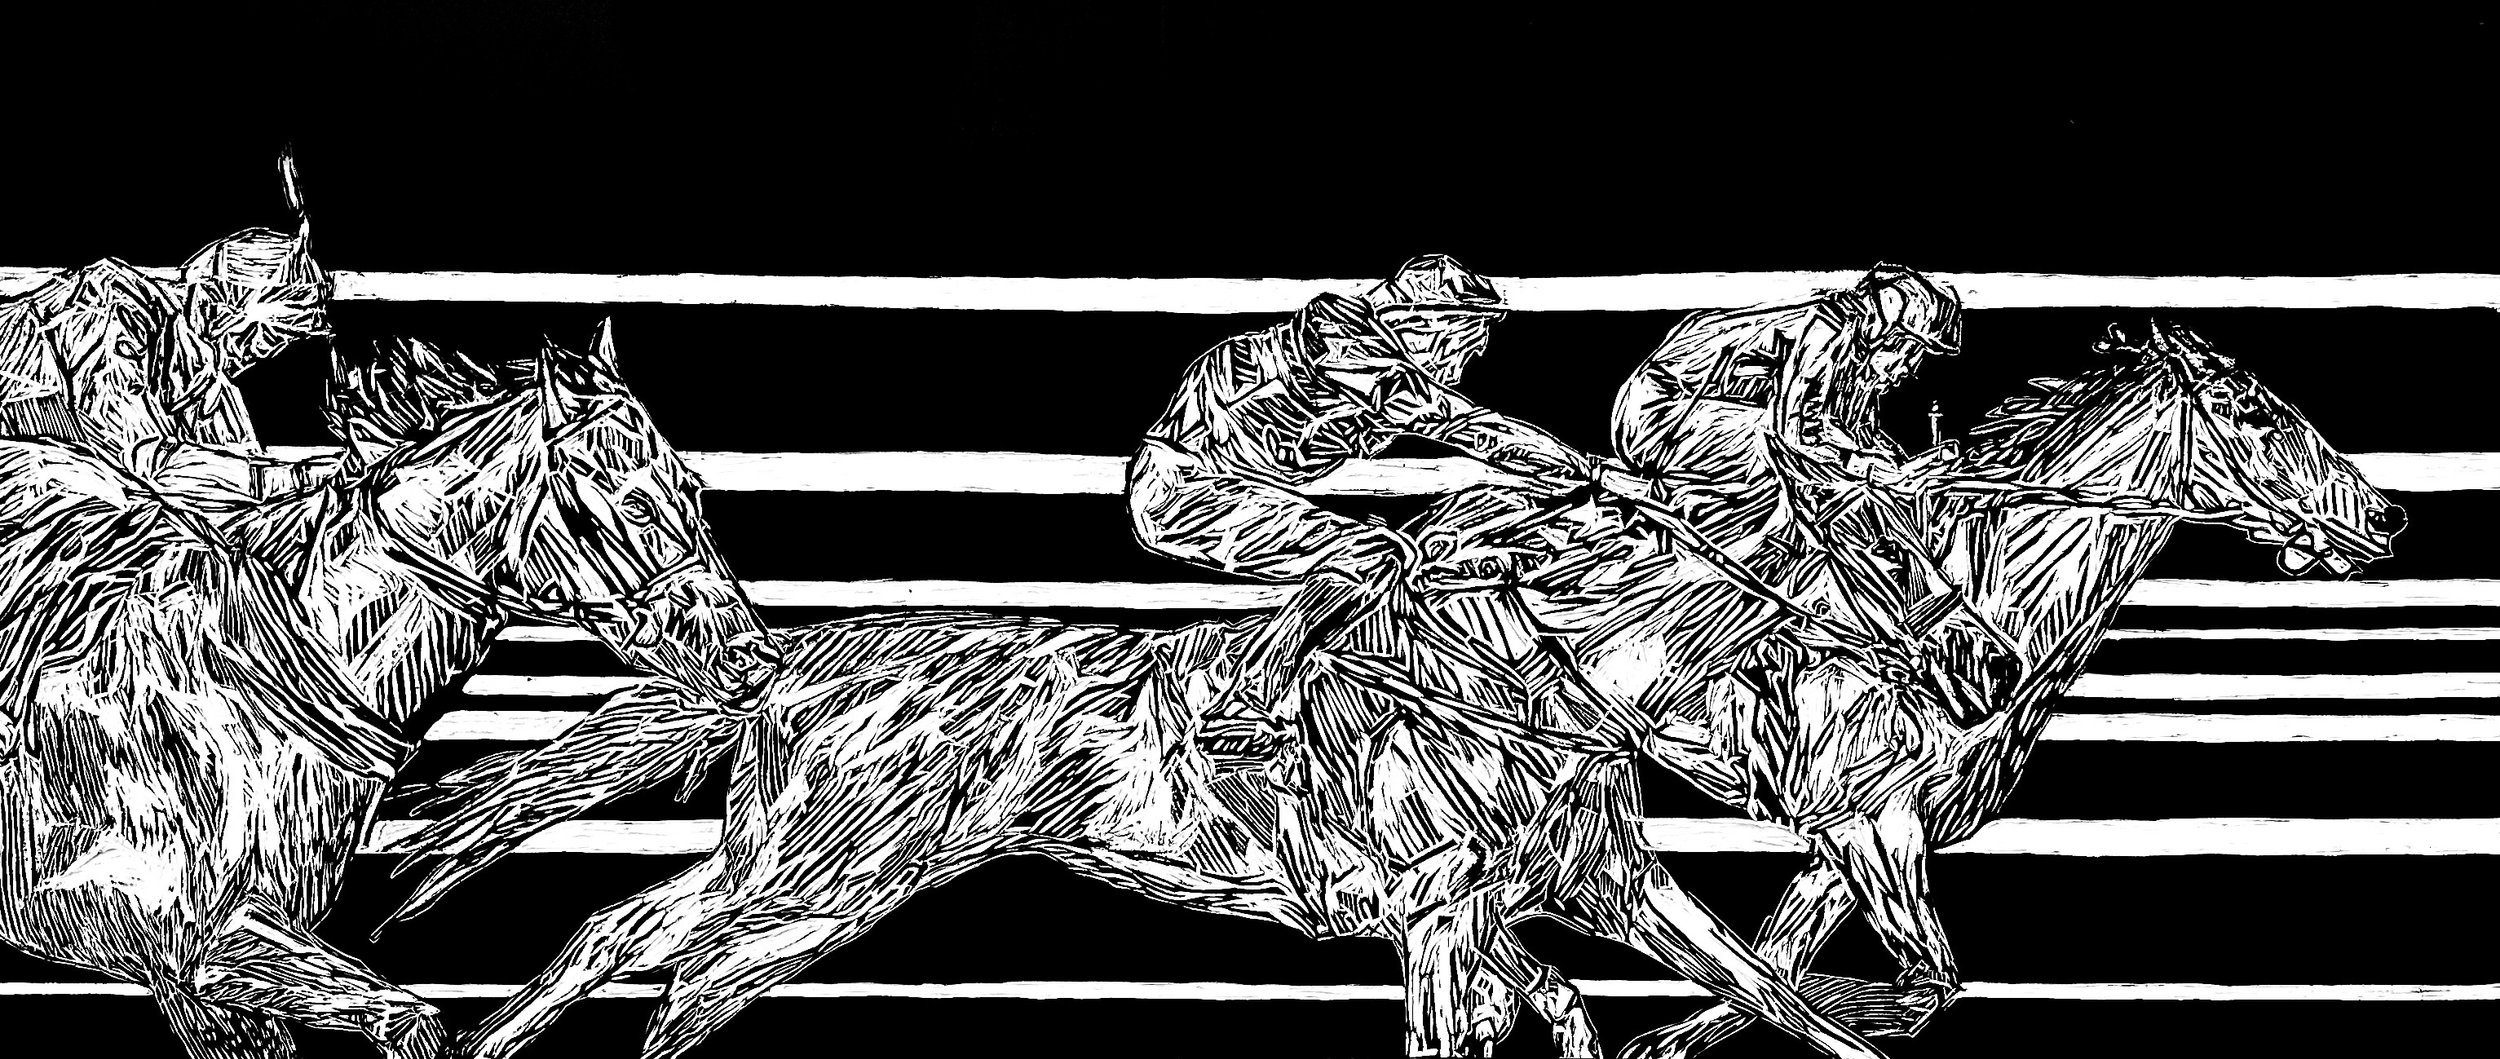
I then revised the sketch. Turning the entire drawing into a piece made up solely of different sized lines. Giving the effect of shading instead of having actual shading in the composition. I also added a black background with a variety of different sized white lines in it. The black brings your eye to the horses and jockeys, while the white lines add a sense of motion and speed.
Once the design was complete I printed it out using a toner printer. It took 24 pieces of paper. Turning my original design into 7 ft. x 3 ft.

This is a clip of an instagram post that my steamroller printing professor, Dusty Herbig, made. In this we put Estisol 150 on a 7 ft. x 3 ft. Medium Density Fiberboard. We then did a xerox transfer by putting the printed design face down onto the board and sending it through a press. This allowed the design to get transferred onto the board, which would provide a guide for me to start carving.

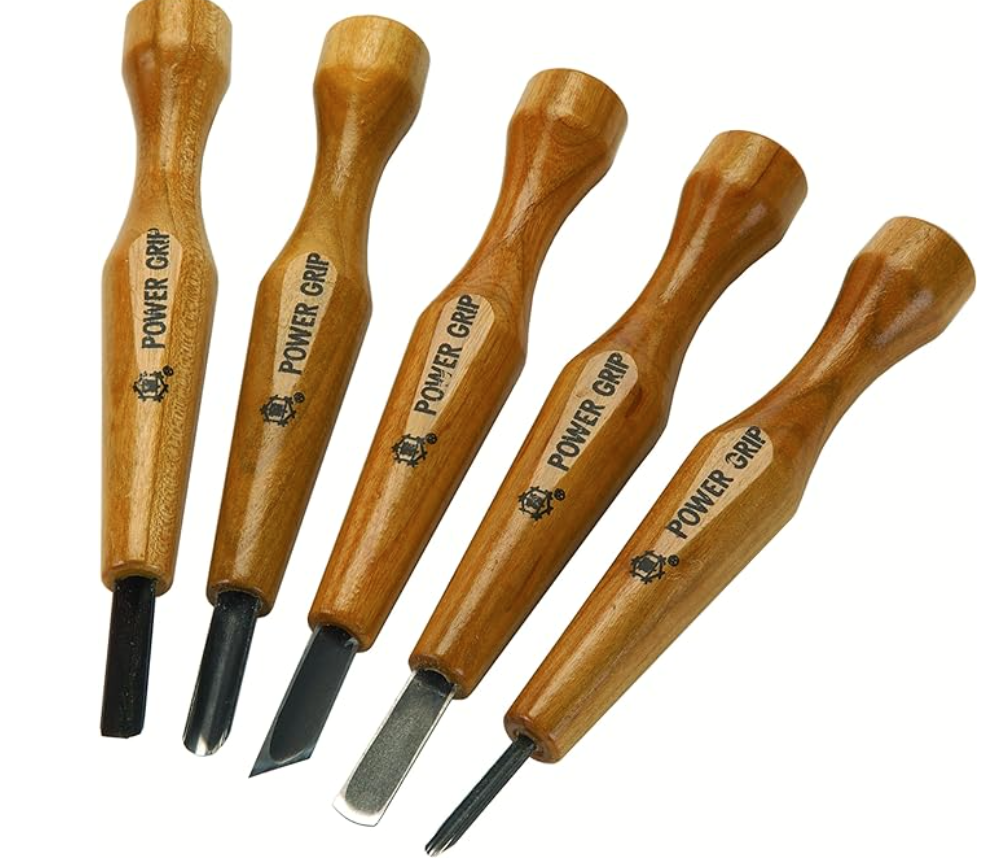
Now that I had my design on the block I got started carving. These were the five tools I used. For a size reference these can be seen in the second image as well.


A quick look at what the carving process looked like.
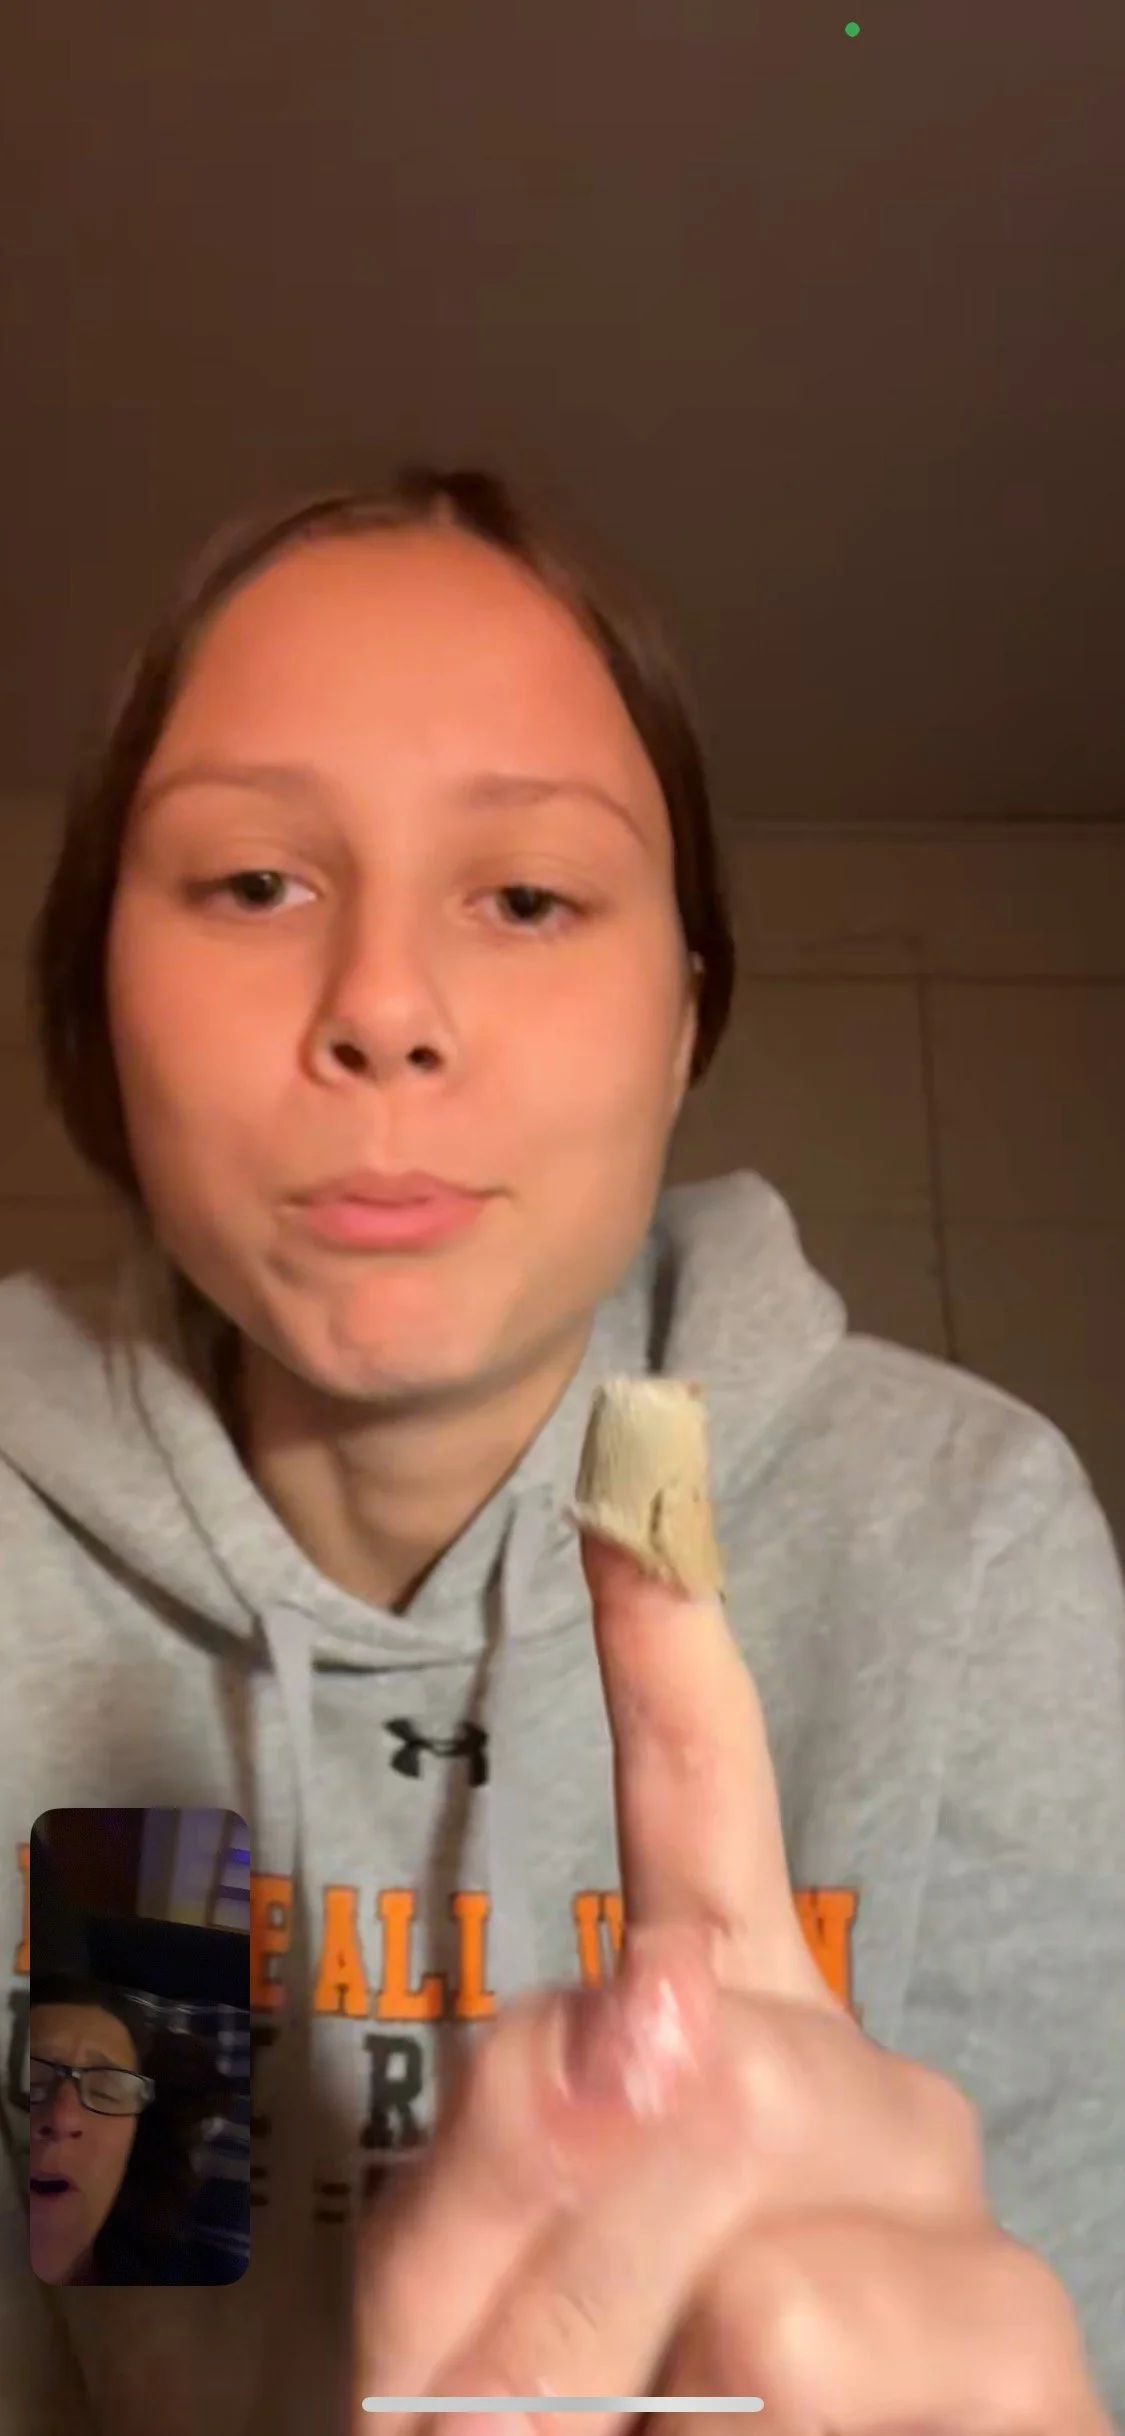
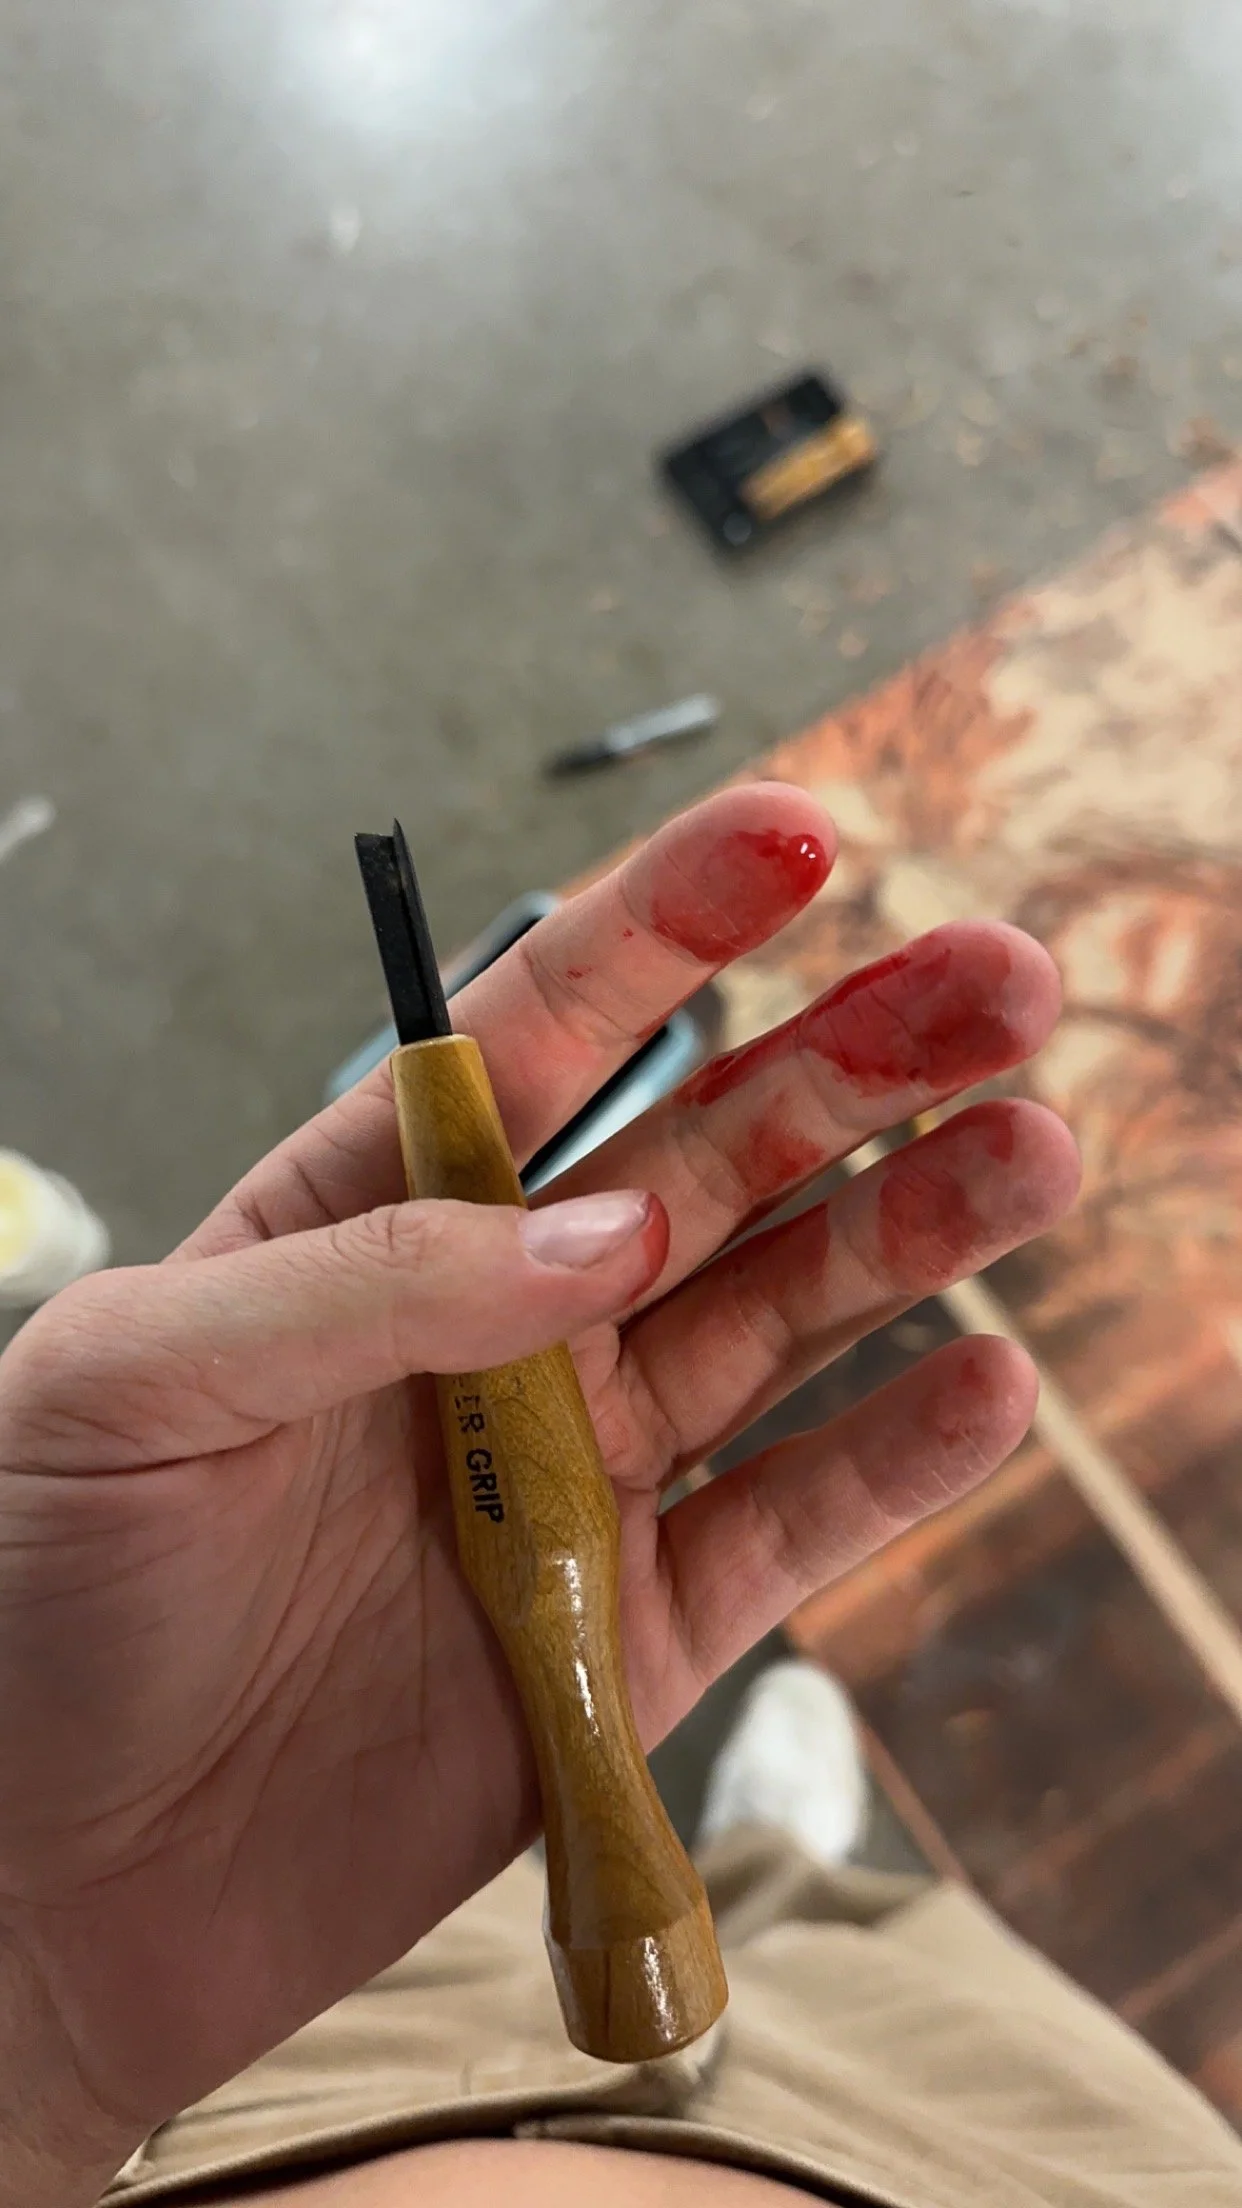
I did, however, gain a few battle scars during this…
Once the carving was finished I put on the base layer of ink.

With multiple layers of ink on it, this is what the block looked like.
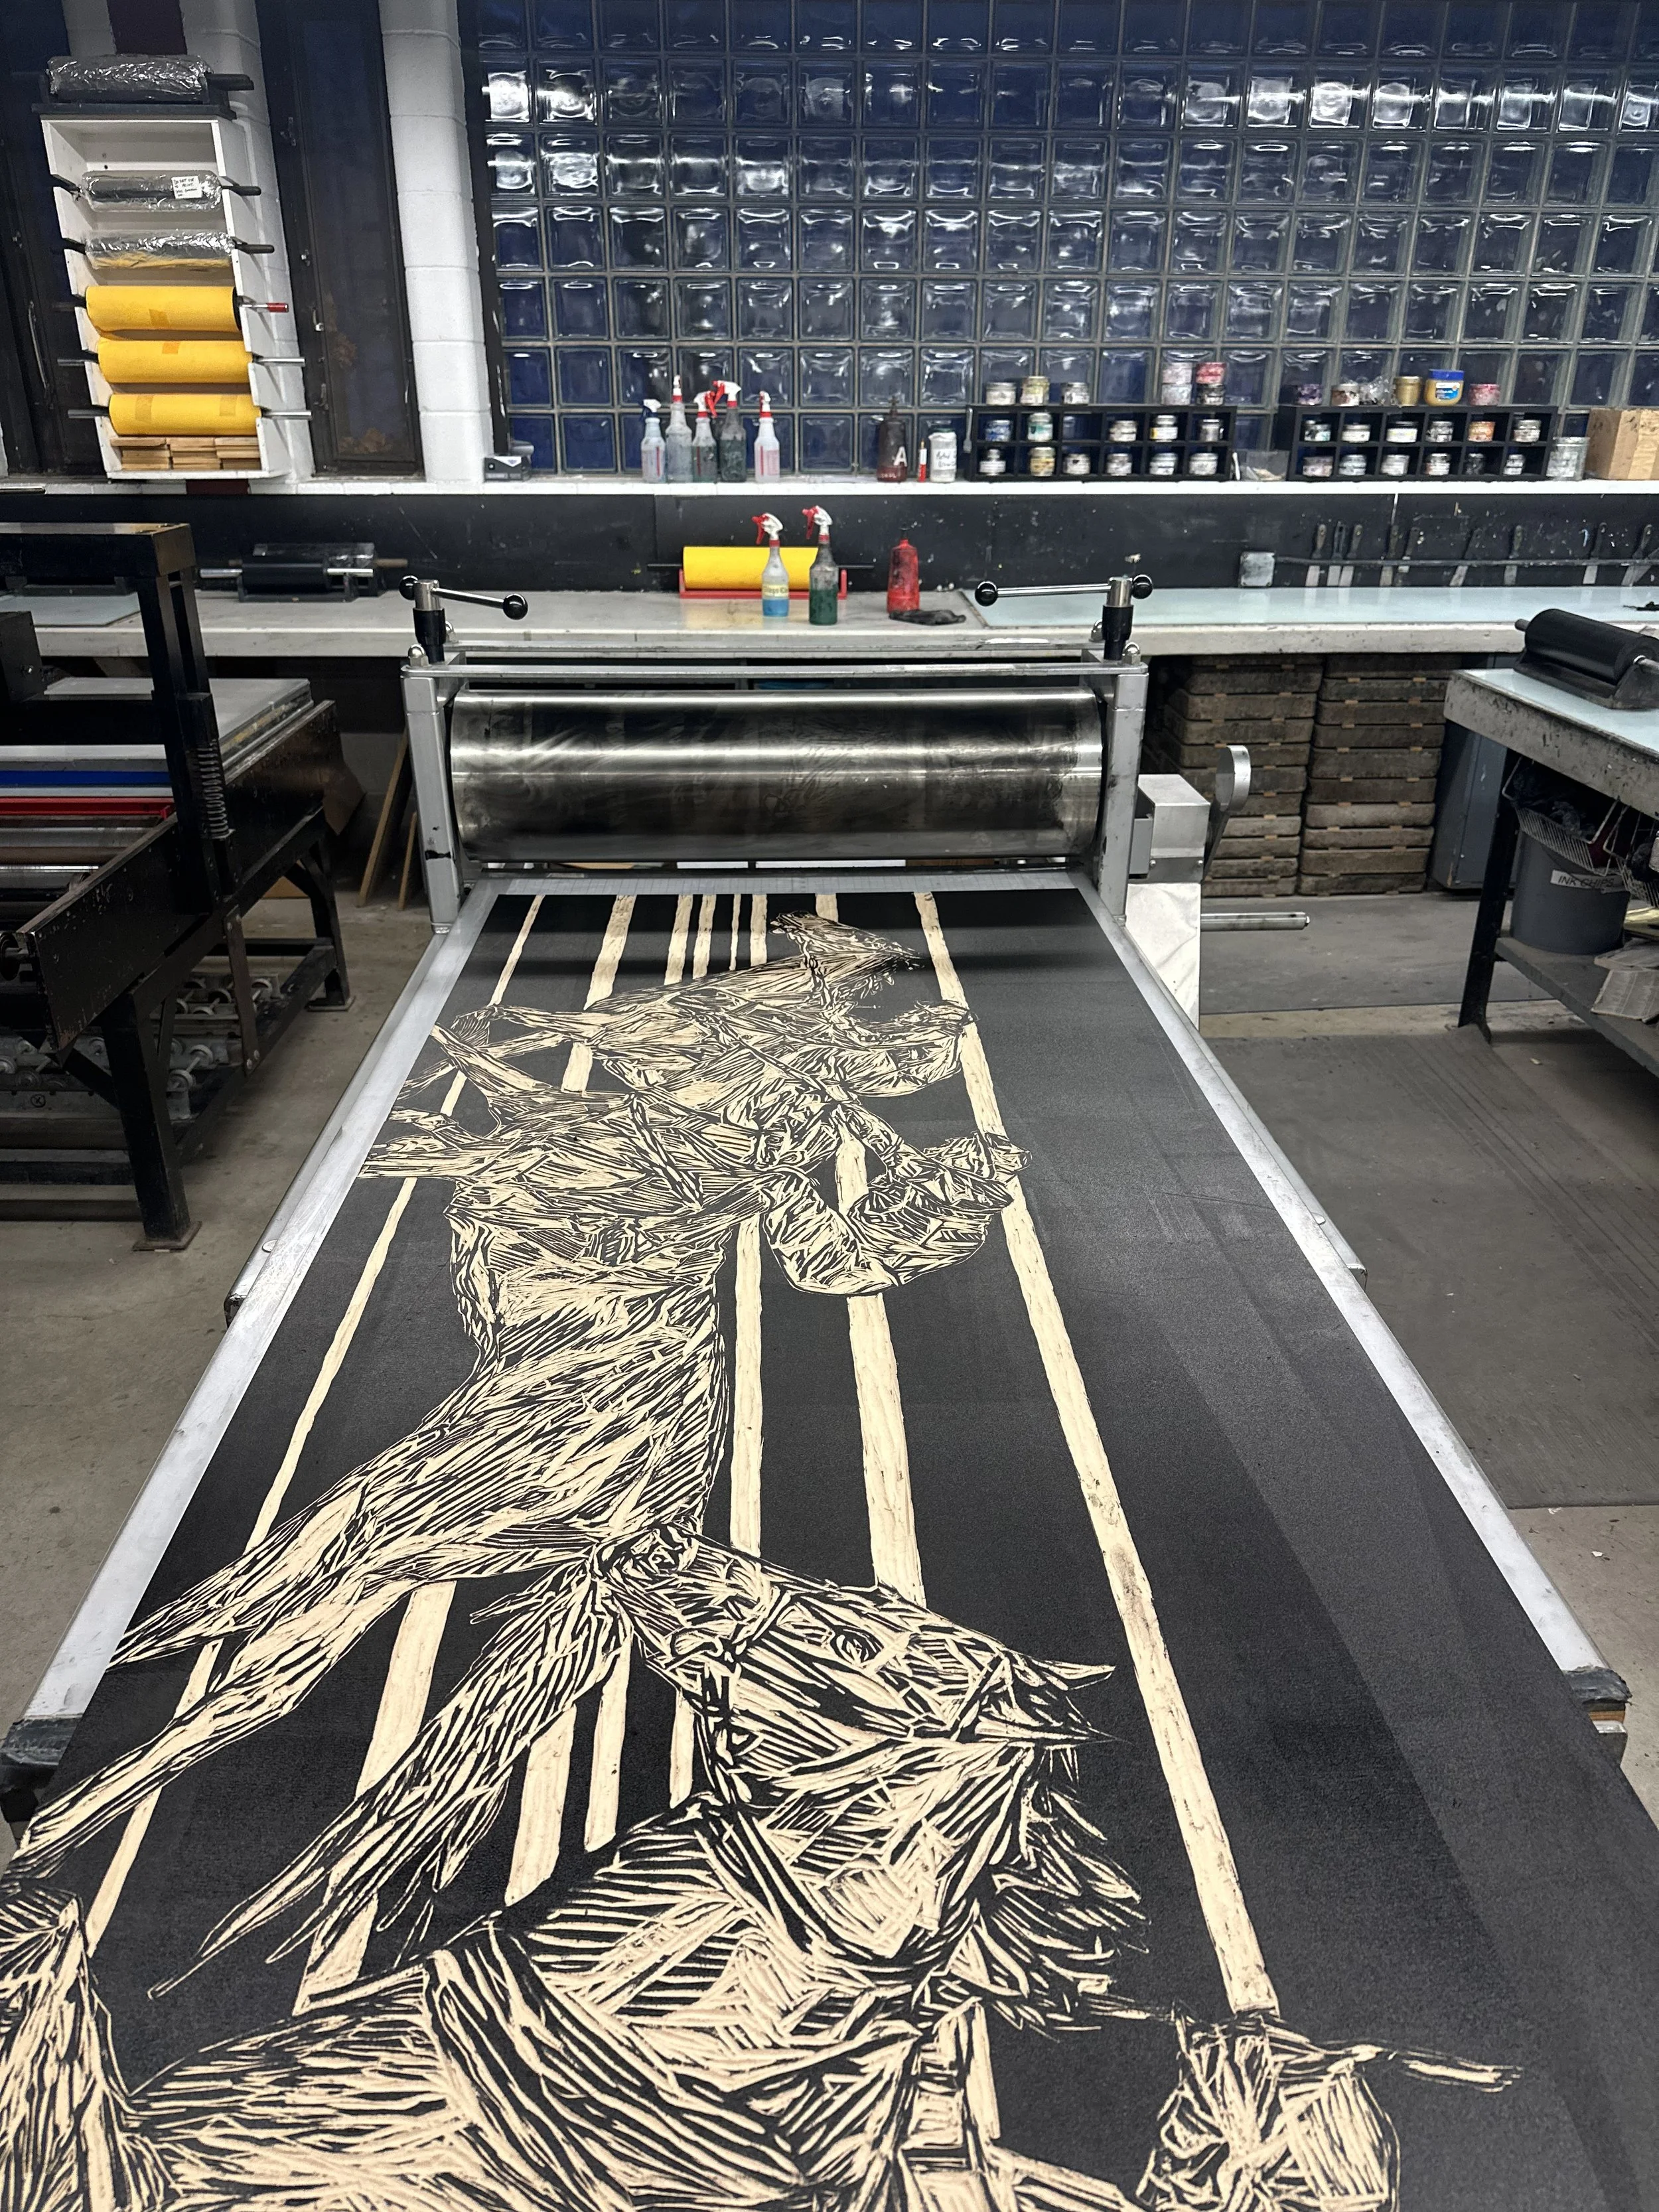
Finally we had printing day! Where the whole class gathered with their printing blocks to use the steamroller. Driven by our professor Dusty! First a group of people rolled on fresh ink to my carving. Then the second group laid the blank canvas on top of the carving. Finally, the steamroller went over it, pressing the design onto the canvas.
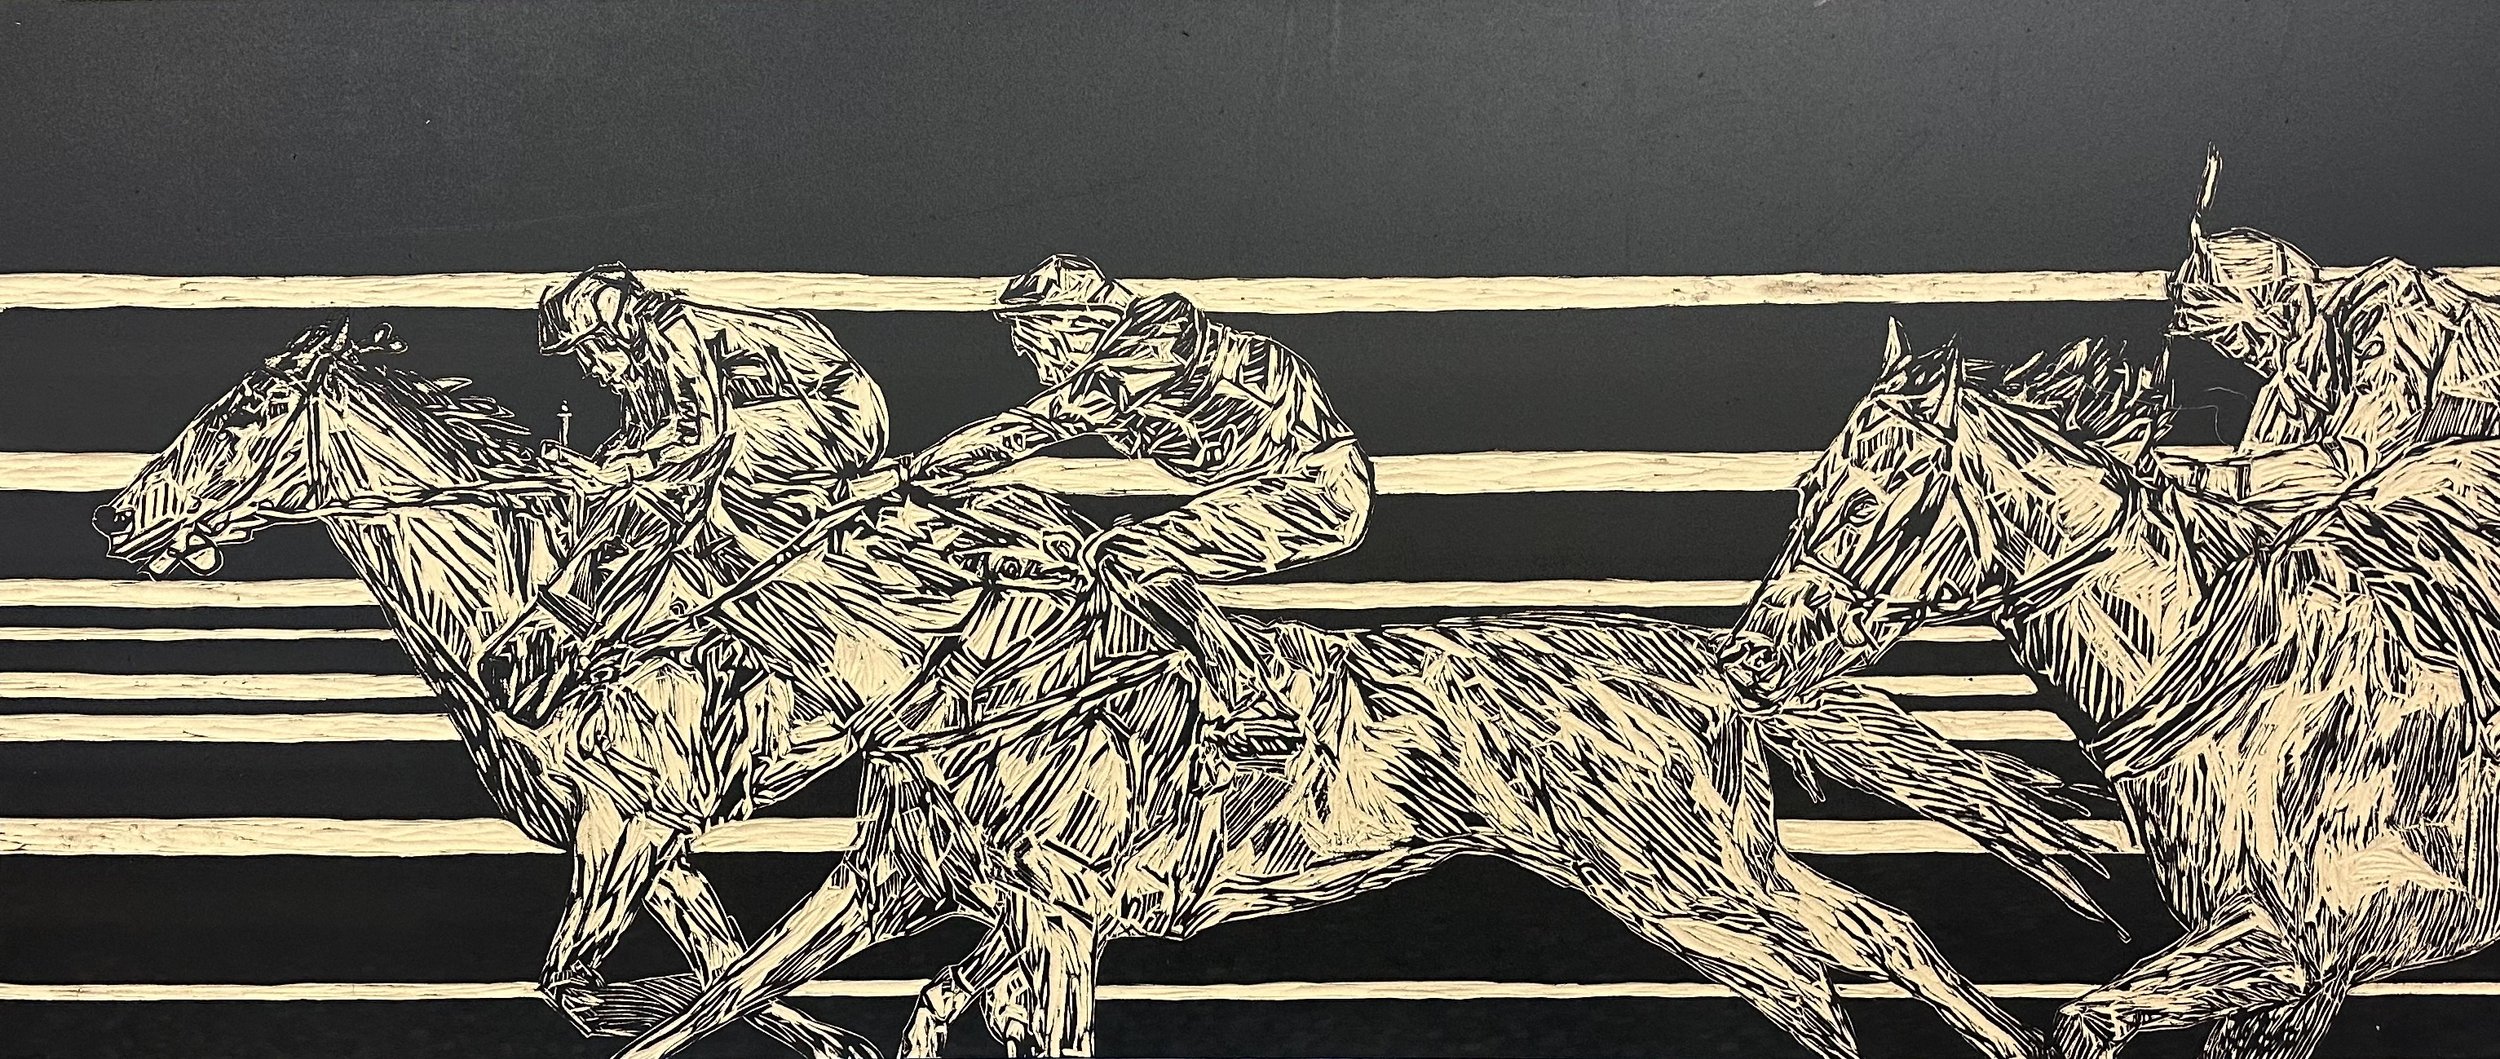
Here is the final product!
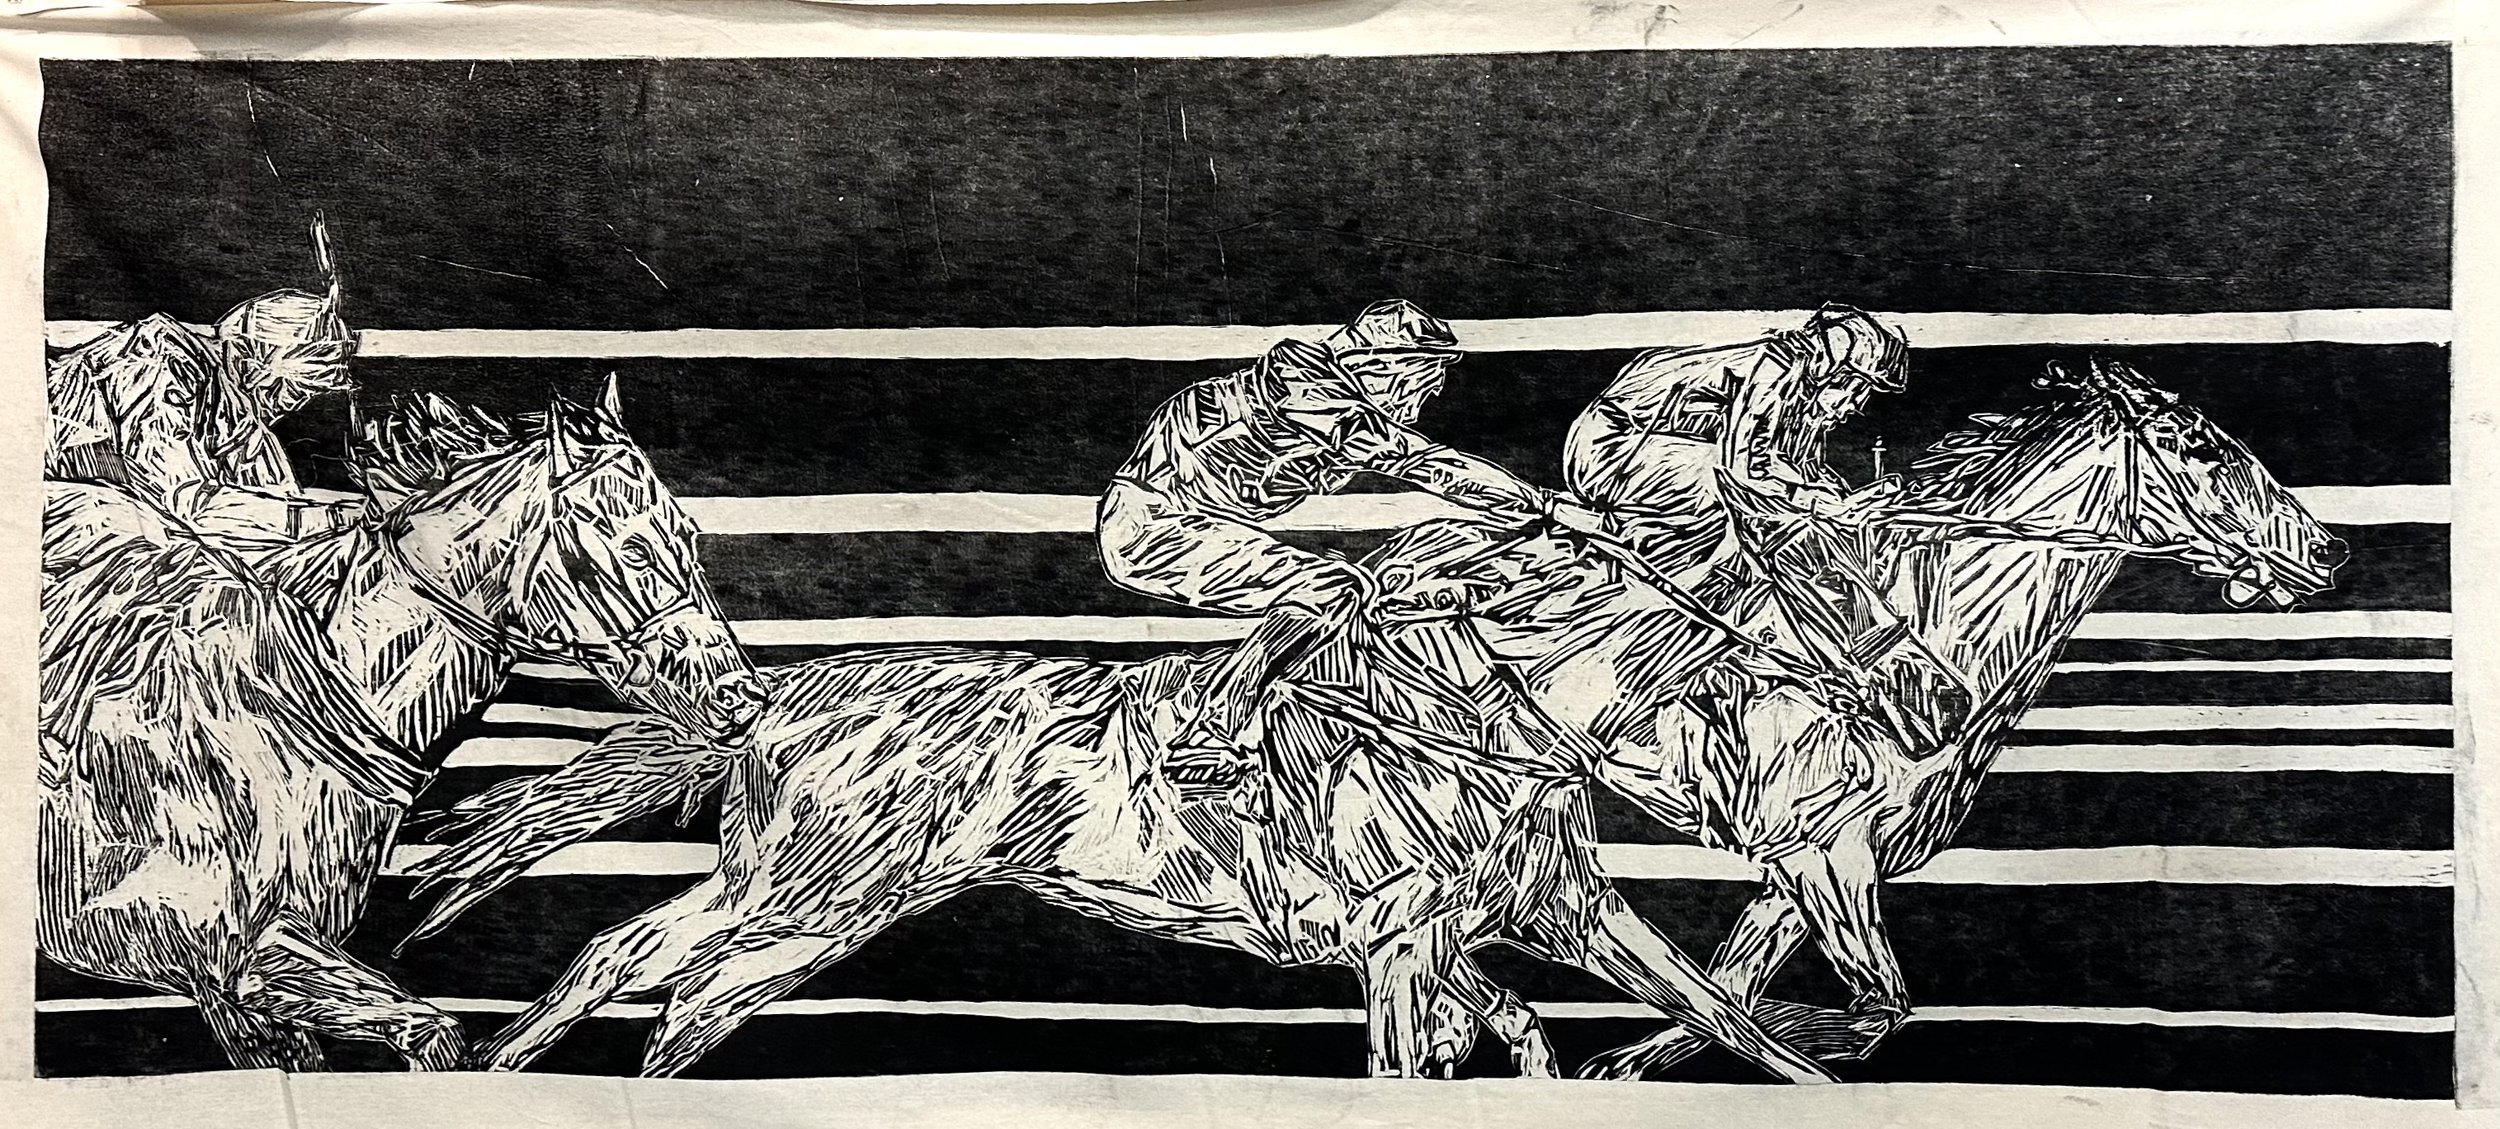
Once printing day had passed, I decided that I wanted a few more prints from the piece. So I used a smaller press in the studio to print onto a gauze material. I also printed parts of the carving onto smaller pieces of paper. In the video, you can see both drying in my dorm room.